
Previously I was sent out to film the RedEye team filming multiple interviews for one of the many extra special clients. Now it is my turn to take the footage I collected form behind the scenes and turn it into something fun and exciting to share with you so you can see a little of how we work well…behind the scenes!
Now, it’s time to ingest the footage that I shot to our edit system. Fellow intern, Keegan and I were handed different cameras and shot at a variety of shots. So, it is my job to move all clips to our edit program, Final Cut. Since my camcorder has a memory card, I can just put the memory card in memory card reader and transfer clips to the computer. However, Keegan’s is recorded in a tape. Here, I have to digitize it!
First of all, open Final Cut! Then, go to Final Cut menu and select Easy setup. This setting varies in what kind of format each company uses. For the memory card, go to File, find log&transfer. All you need to do is name every clip and take some note about the clip to explain what this clip is. When you click ‘add selection to queue,’ It’s done! Don’t forget to save it beforehand. I save it as RedEyeBTS(Behind The Scenes). Save it once, twice… every time you remember just in case your edit program would be able to shut down out of nowhere.
For the tape, I have to digitize it. Before I do that, I need to log what I need from the tape. With timeline, log the scenes that I think important or look nice.
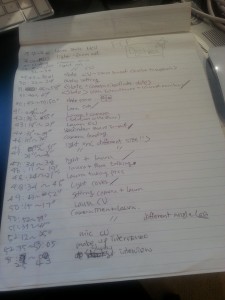


(look, what I did, I know it’s clumsy. Olivia left some comments for this :-D)
I haven’t used a tape when recording so it is very special experience to me!
Now, once you connect the camcorder to the computer, open FCP and go to FCP menu and select Easy setup. Set format. File-> New project and save project as RedEyeBTS! This time, I have to select log&capture. Then you can play and stop video in the camera on FCP. Next, In accordance with your logging, you can capture each clip and save it. How to capture it? Use point in to go to the time you want to start and click mark in. Again, use point out to go to the timeline you want to end and click mark out. Here is the thing that you have to keep in mind when you are saving your clips. There are so many clips saved in each computer. So, when you save the clip, please take a simple note about the scenes. Here are the tips for shots abbreviation you can use.
| Abbreviations | Shot and Camera Movement Terms |
| WS | Wide Shot |
| LS/FS | Long Shot/Full Shot |
| ELS | Extreme Long Shot |
| MS | Medium Shot |
| LMS | Long Medium Shot |
| CU | Close Up |
| MCU | Medium Close Up |
| XCU | Extreme Close Up |
| POV | Point Of View Shot |
| OTS | Over The Shoulder Shot |
| 2-S/3-S | Two Shot/Three Shot |
| ZI | Zoom In |
| ZO | Zoom Out |
| Pan | Turn the camera left or right |
| Tilt | Turn the camera up or down |
For example, for this shot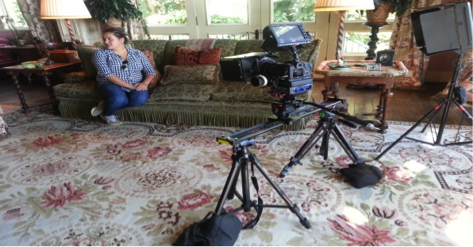 , you can save it as WS of V&Cam&light.
After finishing capturing clips, select all clips you newly made and click right and go to Batch capture! All you have to do is wait until done! One more time, don’t forget to save all of them!
Lessons:
- Save every clip whenever it is. It cannot be too careful when comes to ‘saving files.’
- Note every clip when save it so that later you can find it easily and effectively.
Recent Comments